DIY Glass Scratch Removal Kit Support
How To Use Glass Scratch Removal Kit
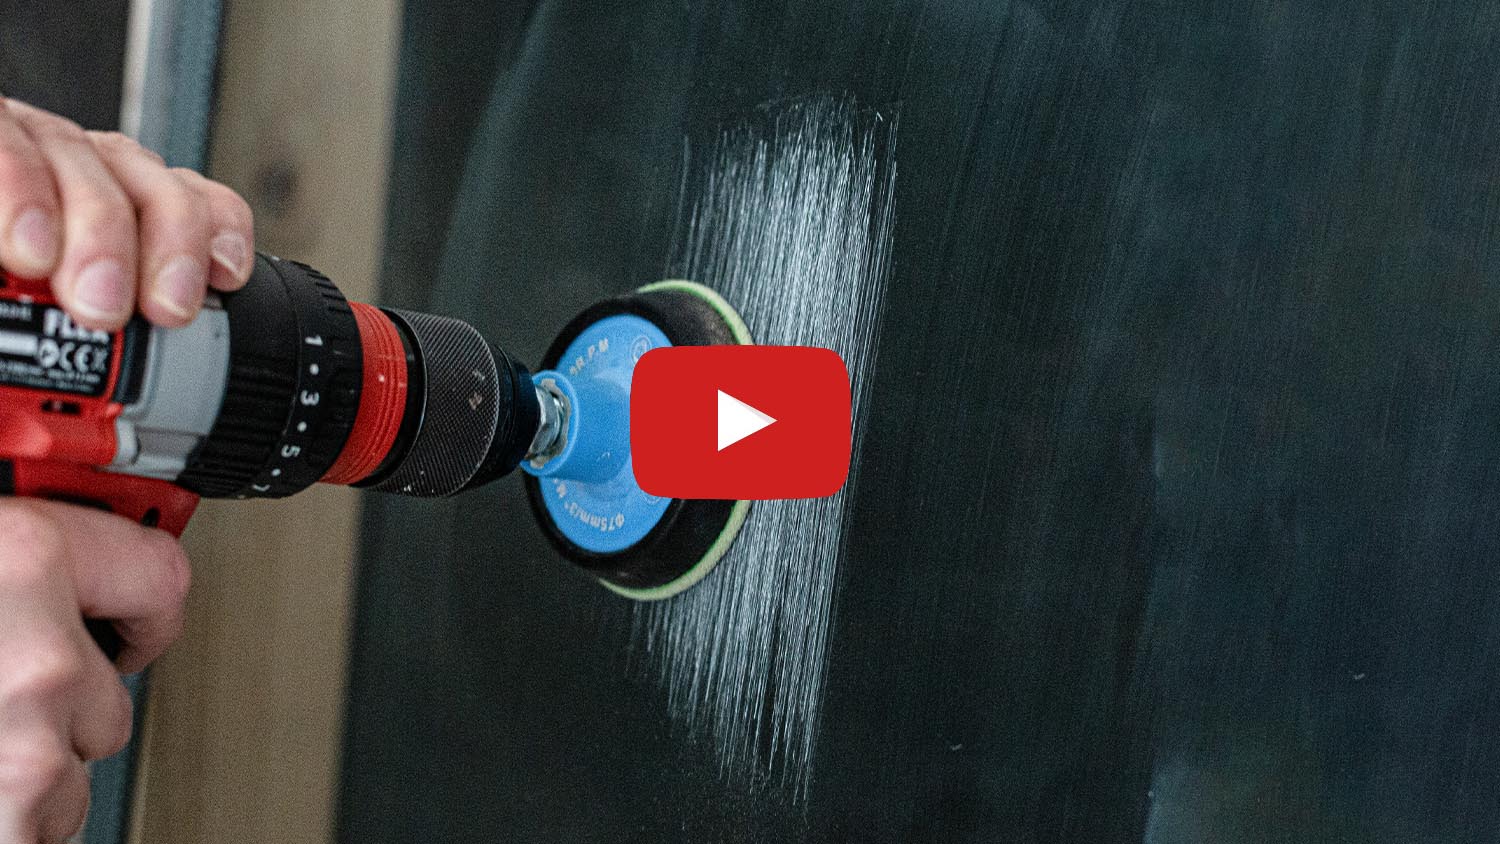

Polishing Tips
✅ Mask surrounding trims and seals to protect them during polishing.
✅ Clean the glass thoroughly before polishing to avoid trapping dirt or grit.
✅ Make sure all visible scratches are fully removed before moving on to the pre-polish process.
✅ Polish with moderate pressure to maintain sufficient friction.
✅ If haziness remains after polishing, return to the pre-polish step and spend more.
✅ To avoid distortion, always overlap your working area slightly with each polishing pass.
✅ Do not overheat the glass – pause if the surface becomes too warm.
Frequently Asked Questions
Can this kit remove deep scratches in glass?
It can effectively remove light to moderate scratches.
Its not suitable for chips and cracks.
What types of glass can I use this kit on?
It is suitable for laminated, toughened glass household windows, mirrors, fish tanks, shower screen and most flat glass surfaces.
Do I need a drill or polishing machine to use this kit?
Yes, the kit can be used with a standard electric drill or a rotary polisher for best results.
How long should I polish the glass for best results?
You should continue polishing until the desired result is achieved.
Depending on the depth of scratches or marks, this may require several passes.
Most windscreens take 30–60 minutes, depending on the size of the area and severity of damage.
Will polishing damage or weaken my glass?
No, when used correctly the kit is safe. It removes only a very fine surface layer of glass without affecting its strength.
Often Bought Together
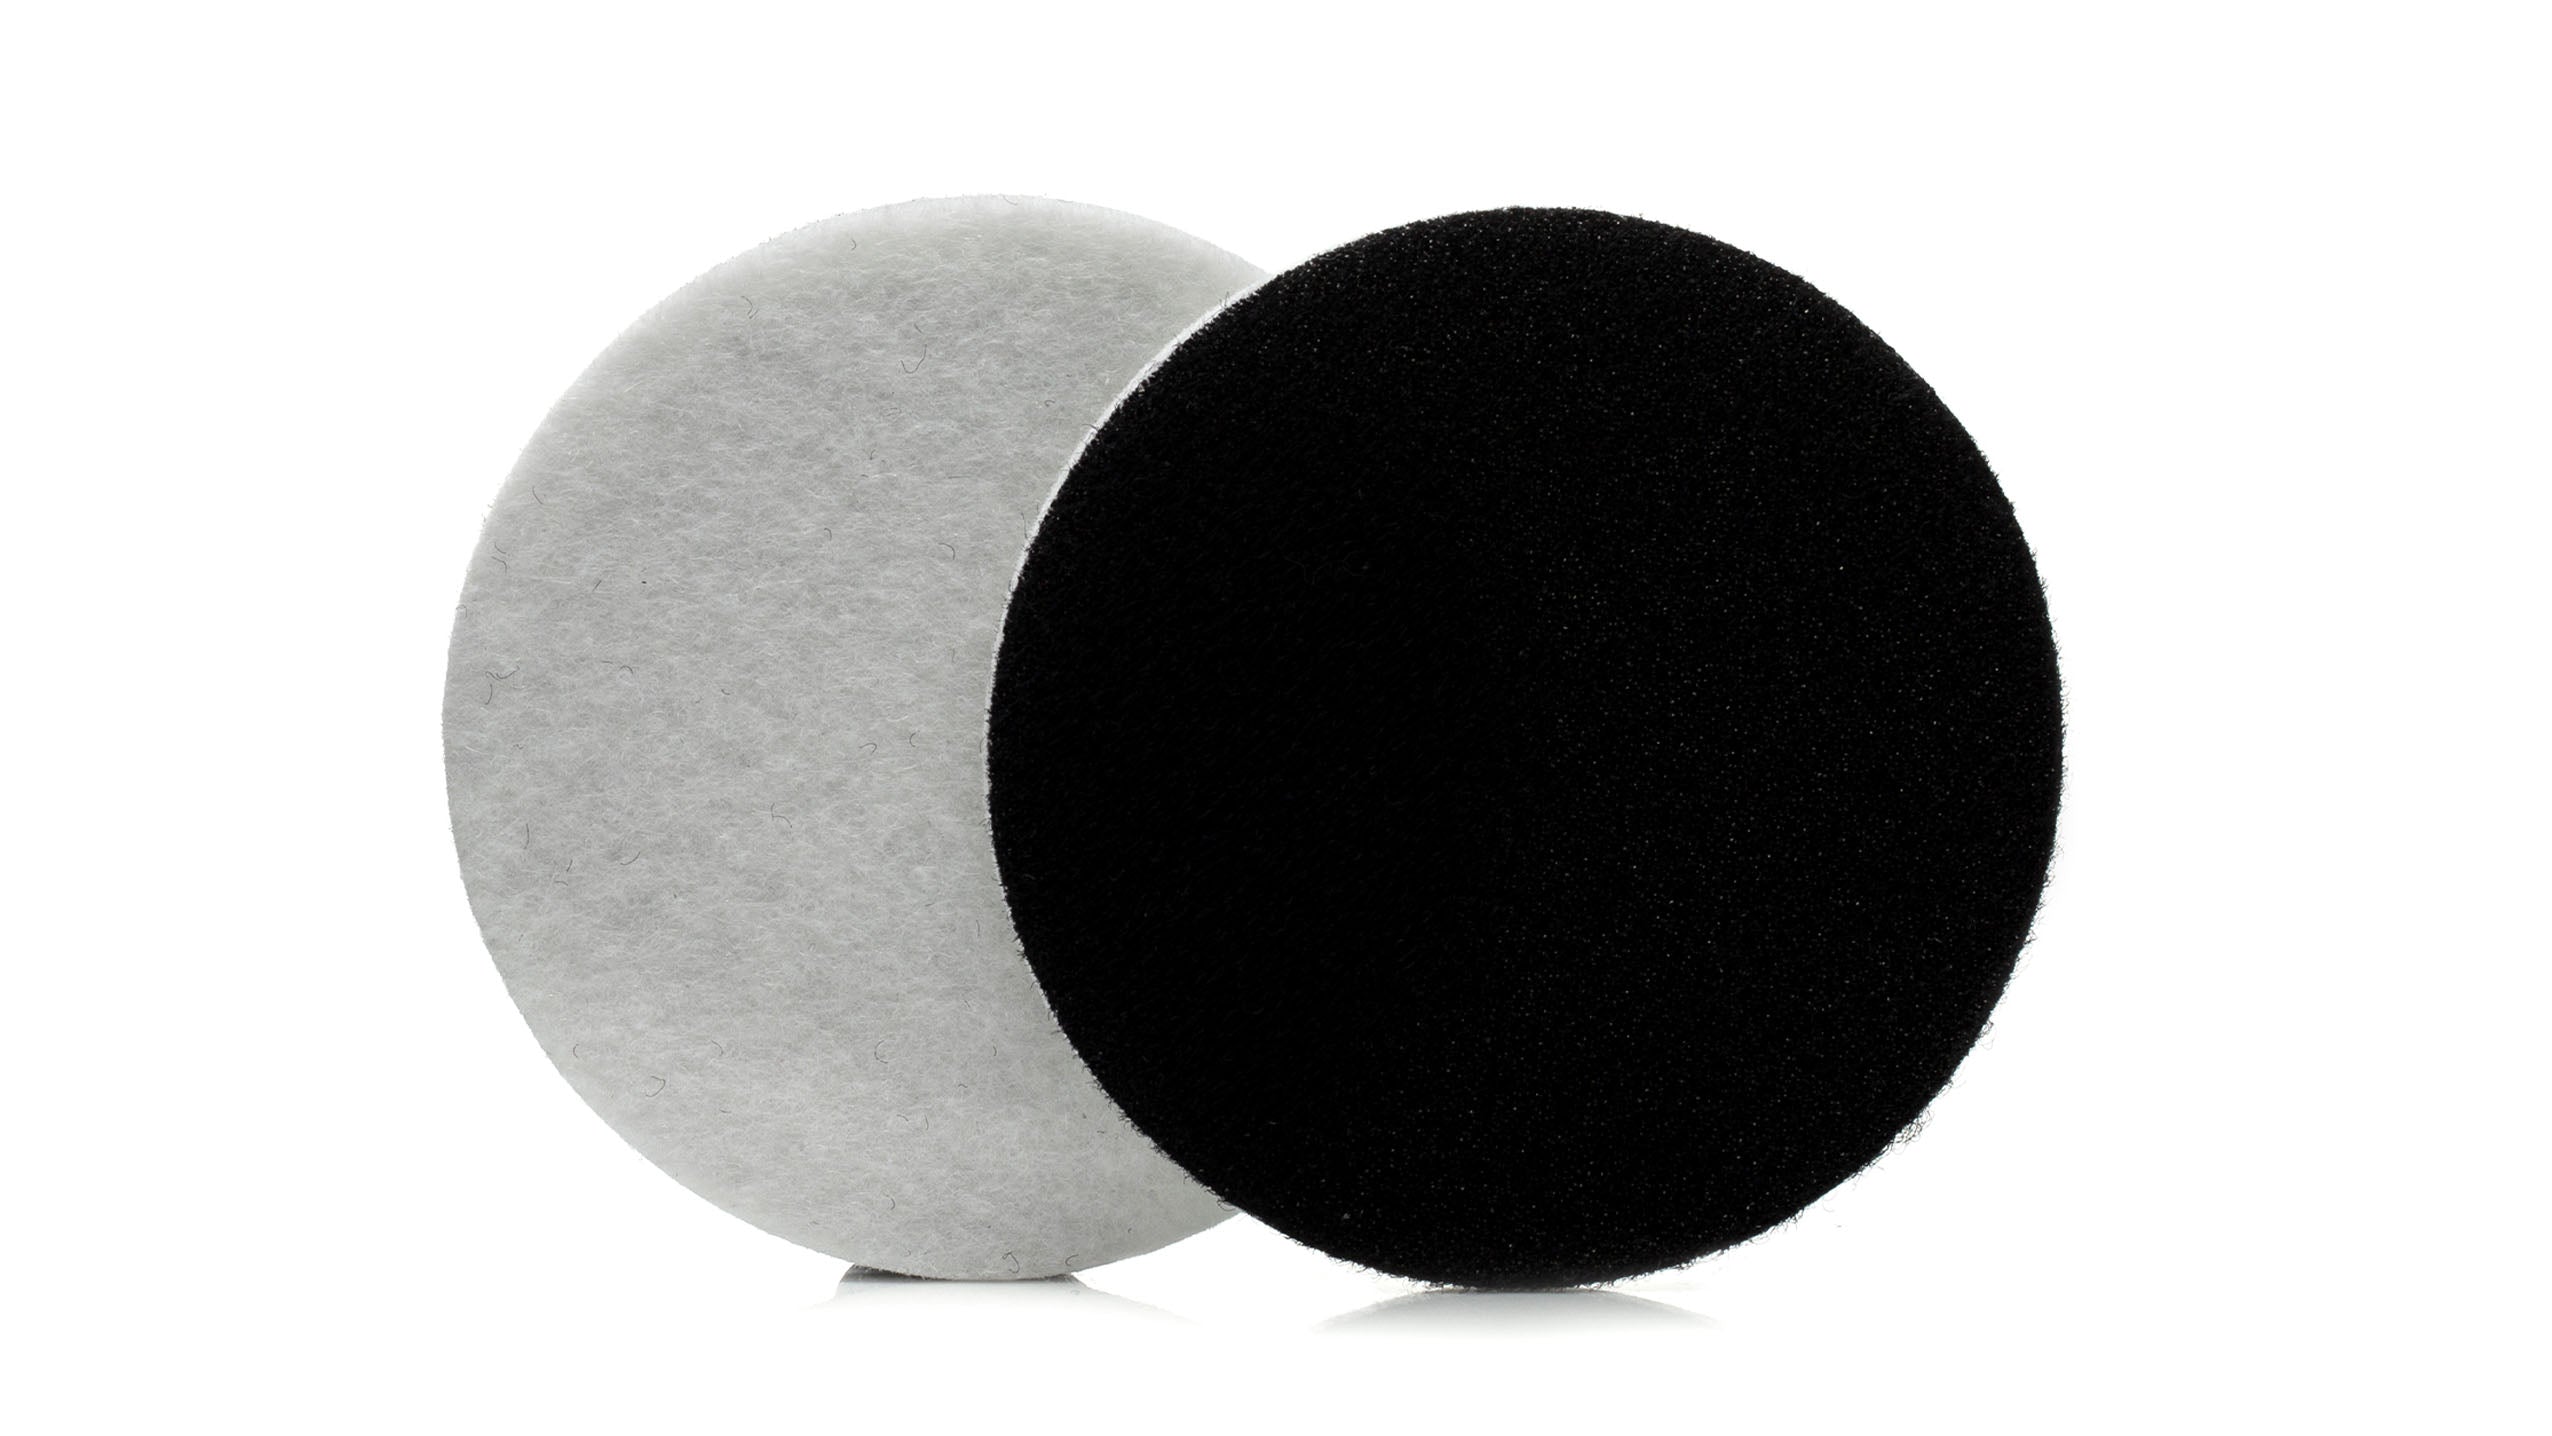
GP-PRO Felt Polishing Pad / 3'' 75mm
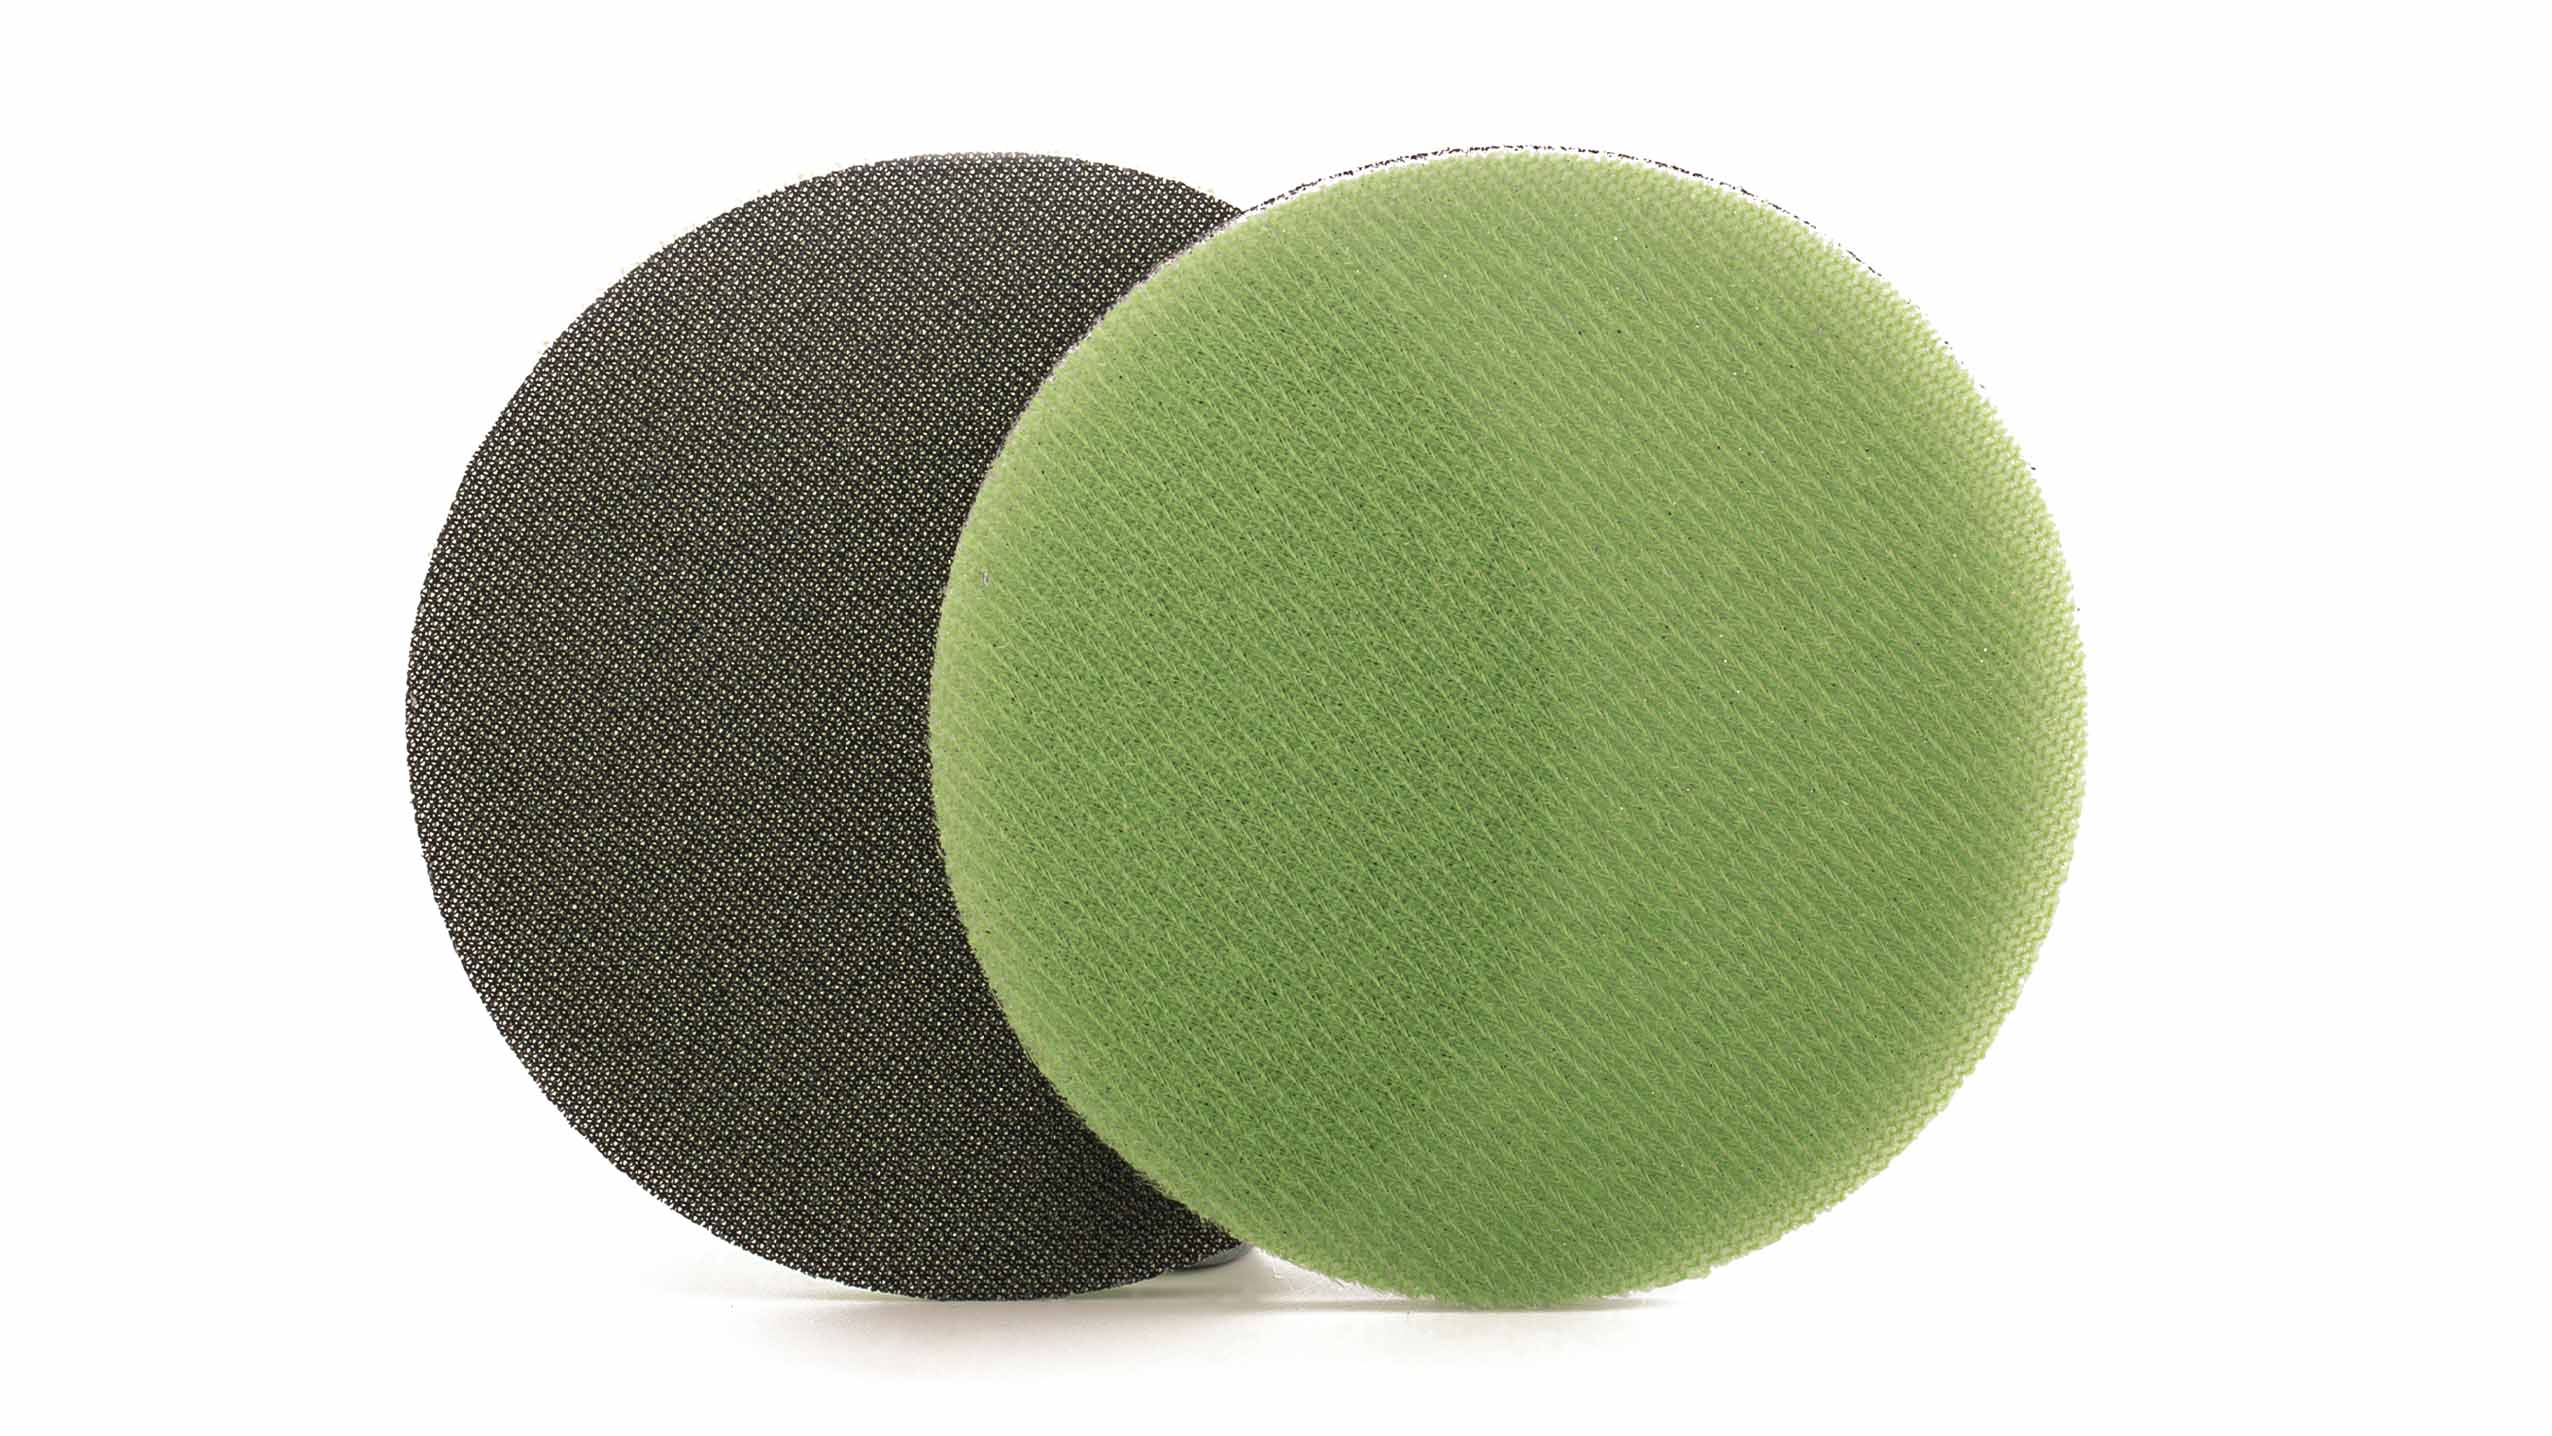
GlasX™ 60 - Fine Grade Abrasive 3" / 75mm
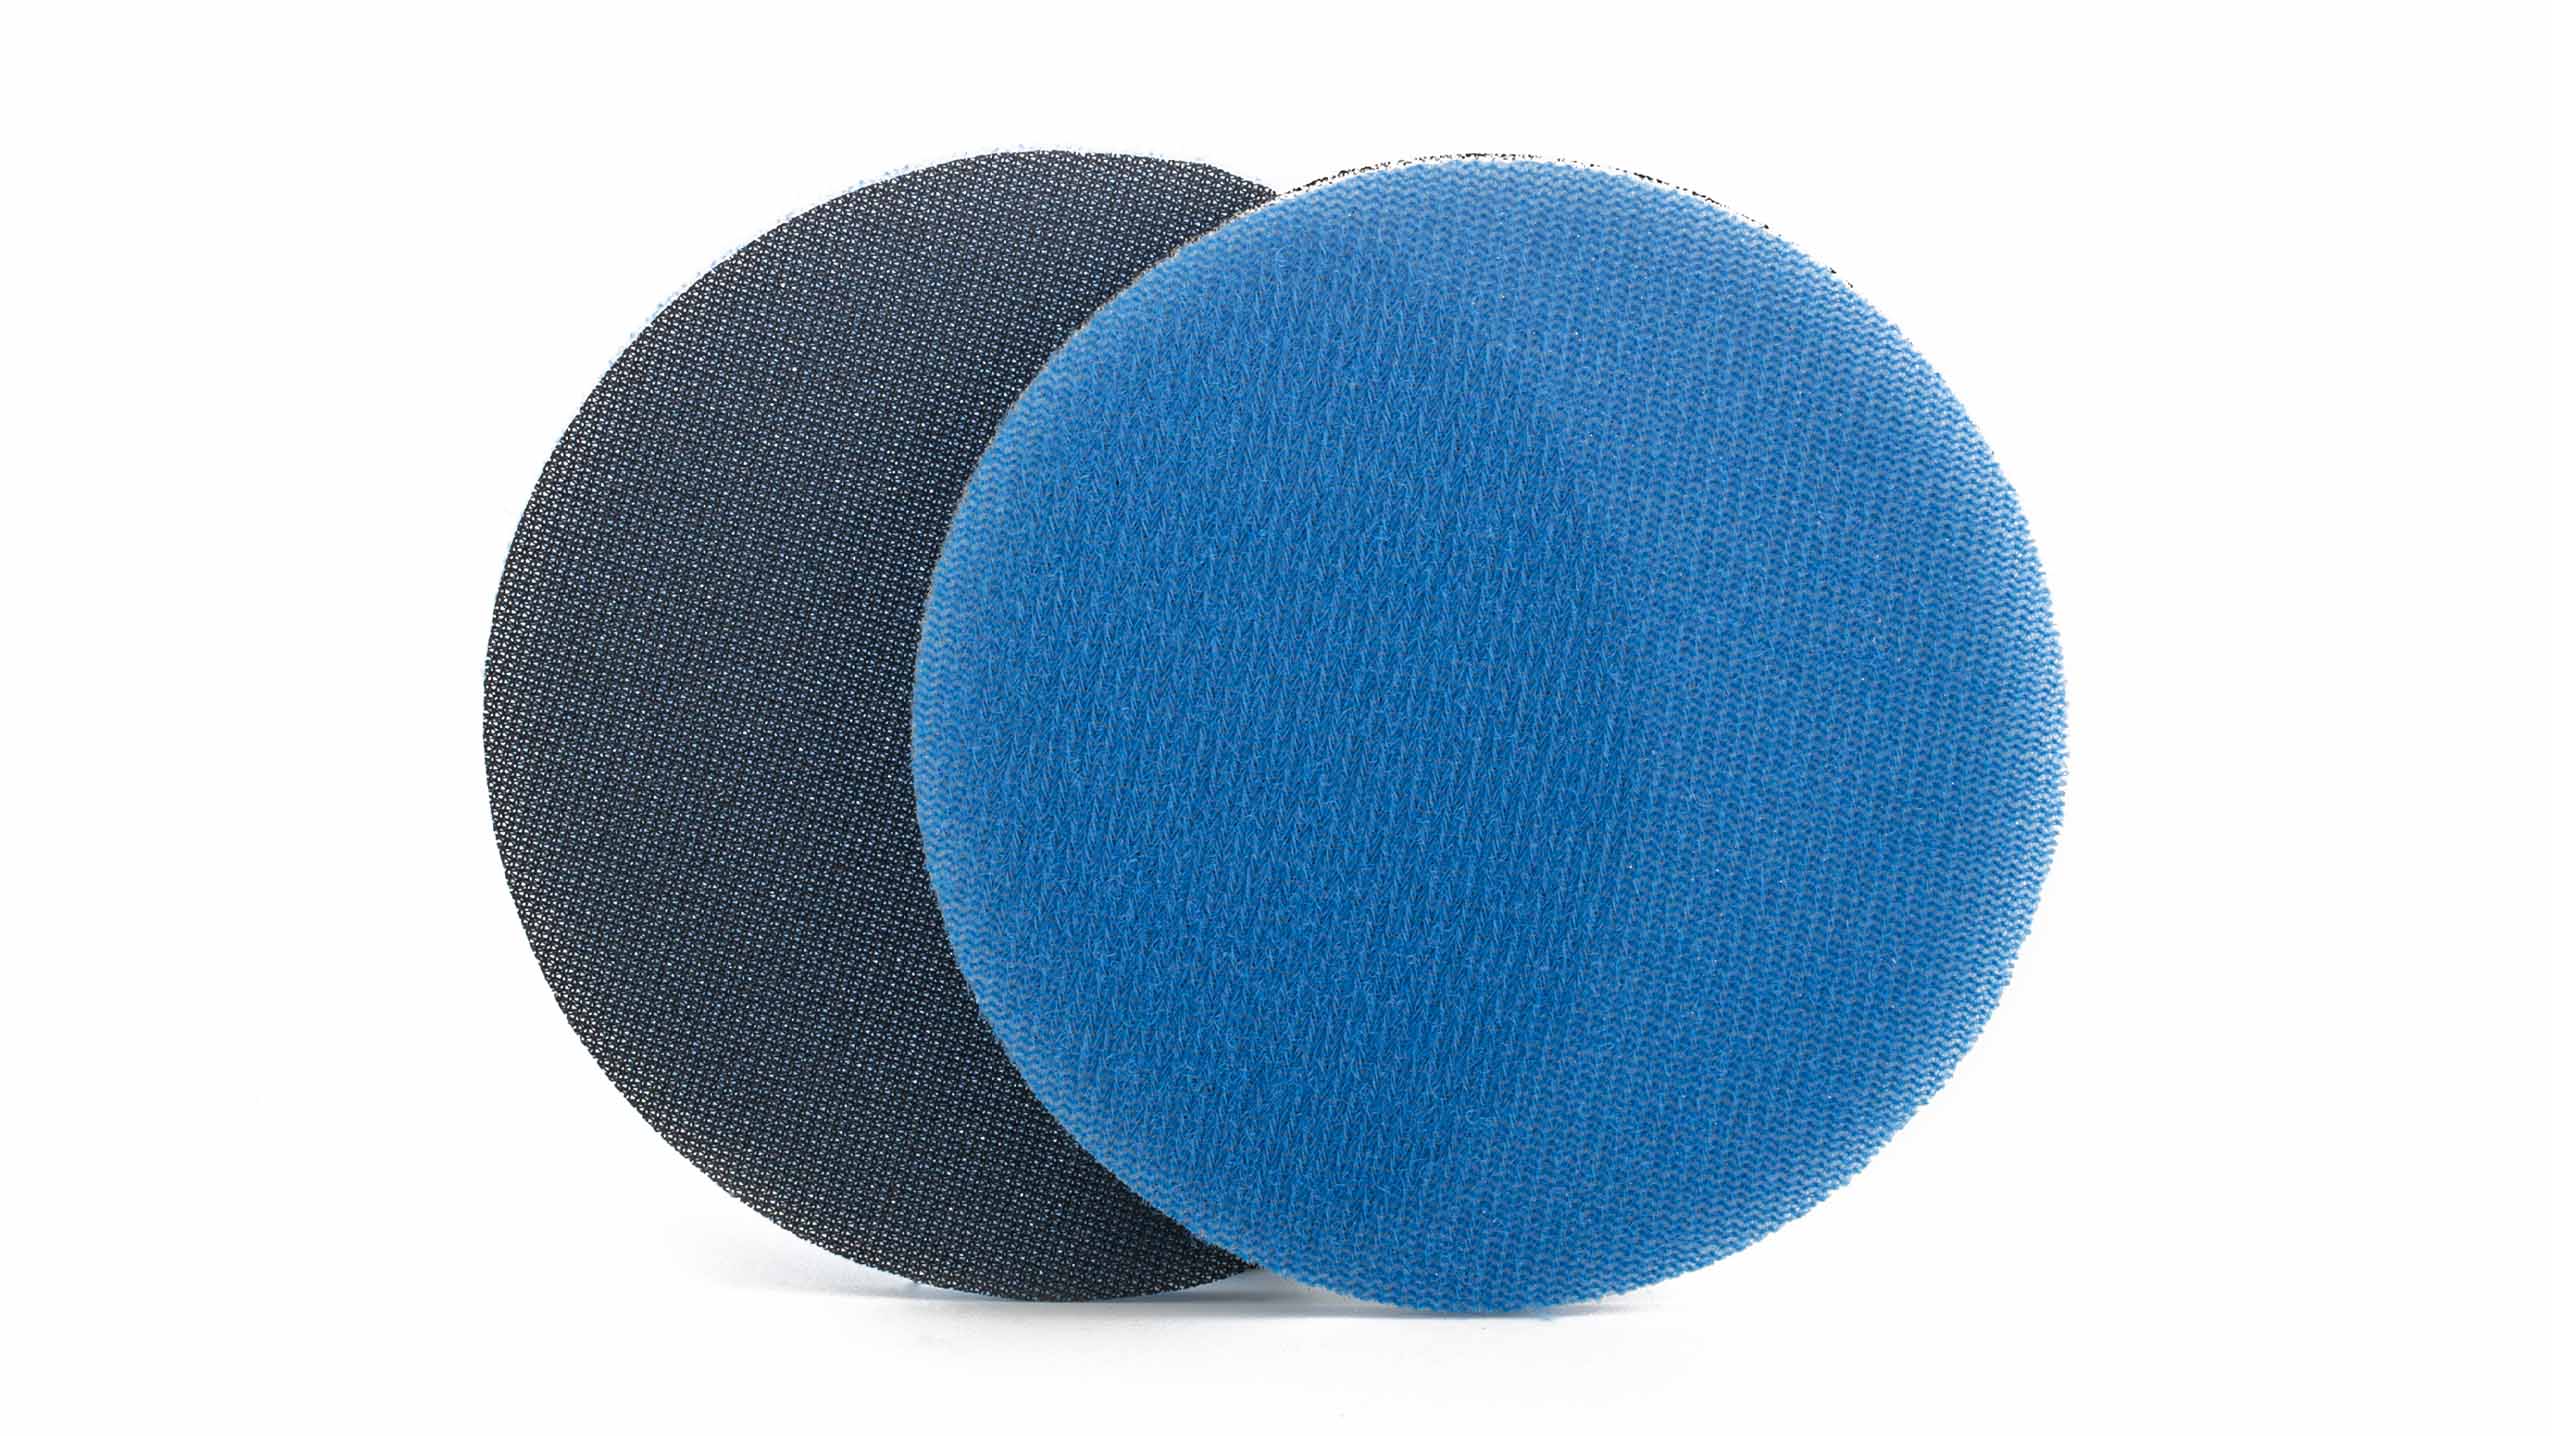
GlasX™ 120 -Medium Grade Abrasive 3" / 75mm
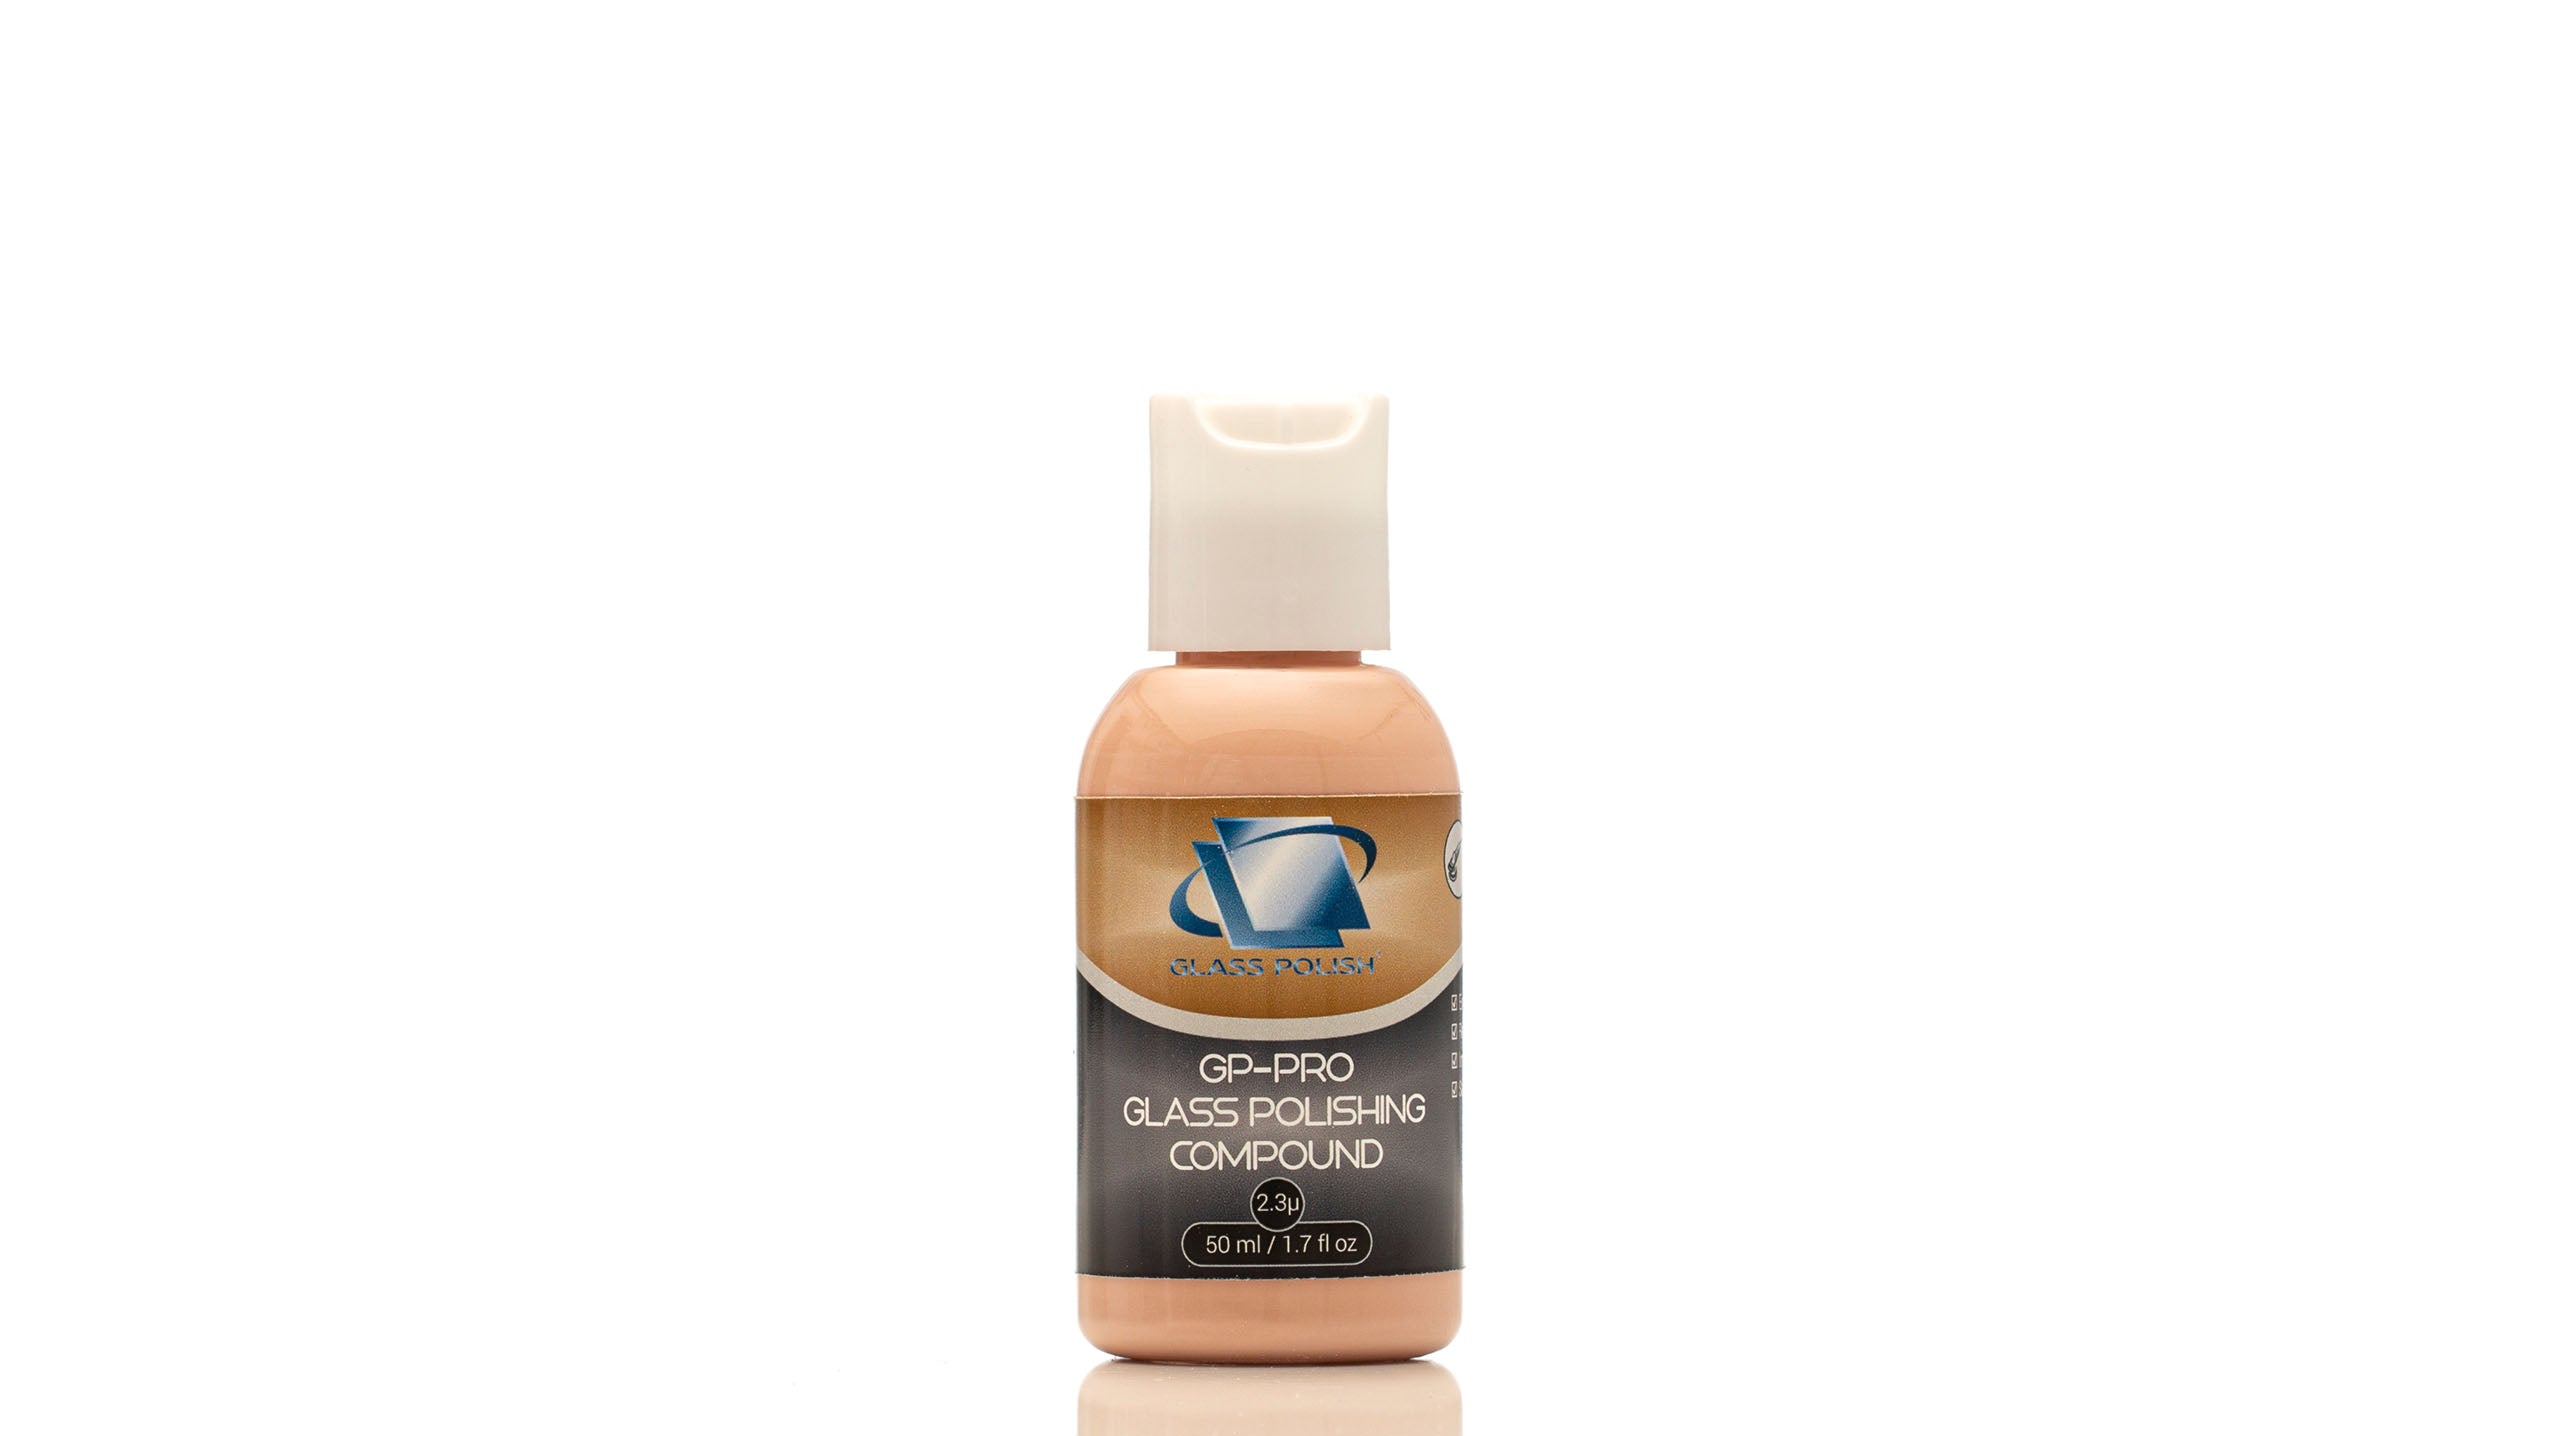
GP-PRO Glass Polishing Compound 50ml


