DIY Metal Polishing Kit Support

MULTI-LANGUAGE
HOW TO USE

SAFETY DATA SHEET
How To Use Metal Polishing Kit

STEP 1: Cleaning
Clean the treated area thoroughly.

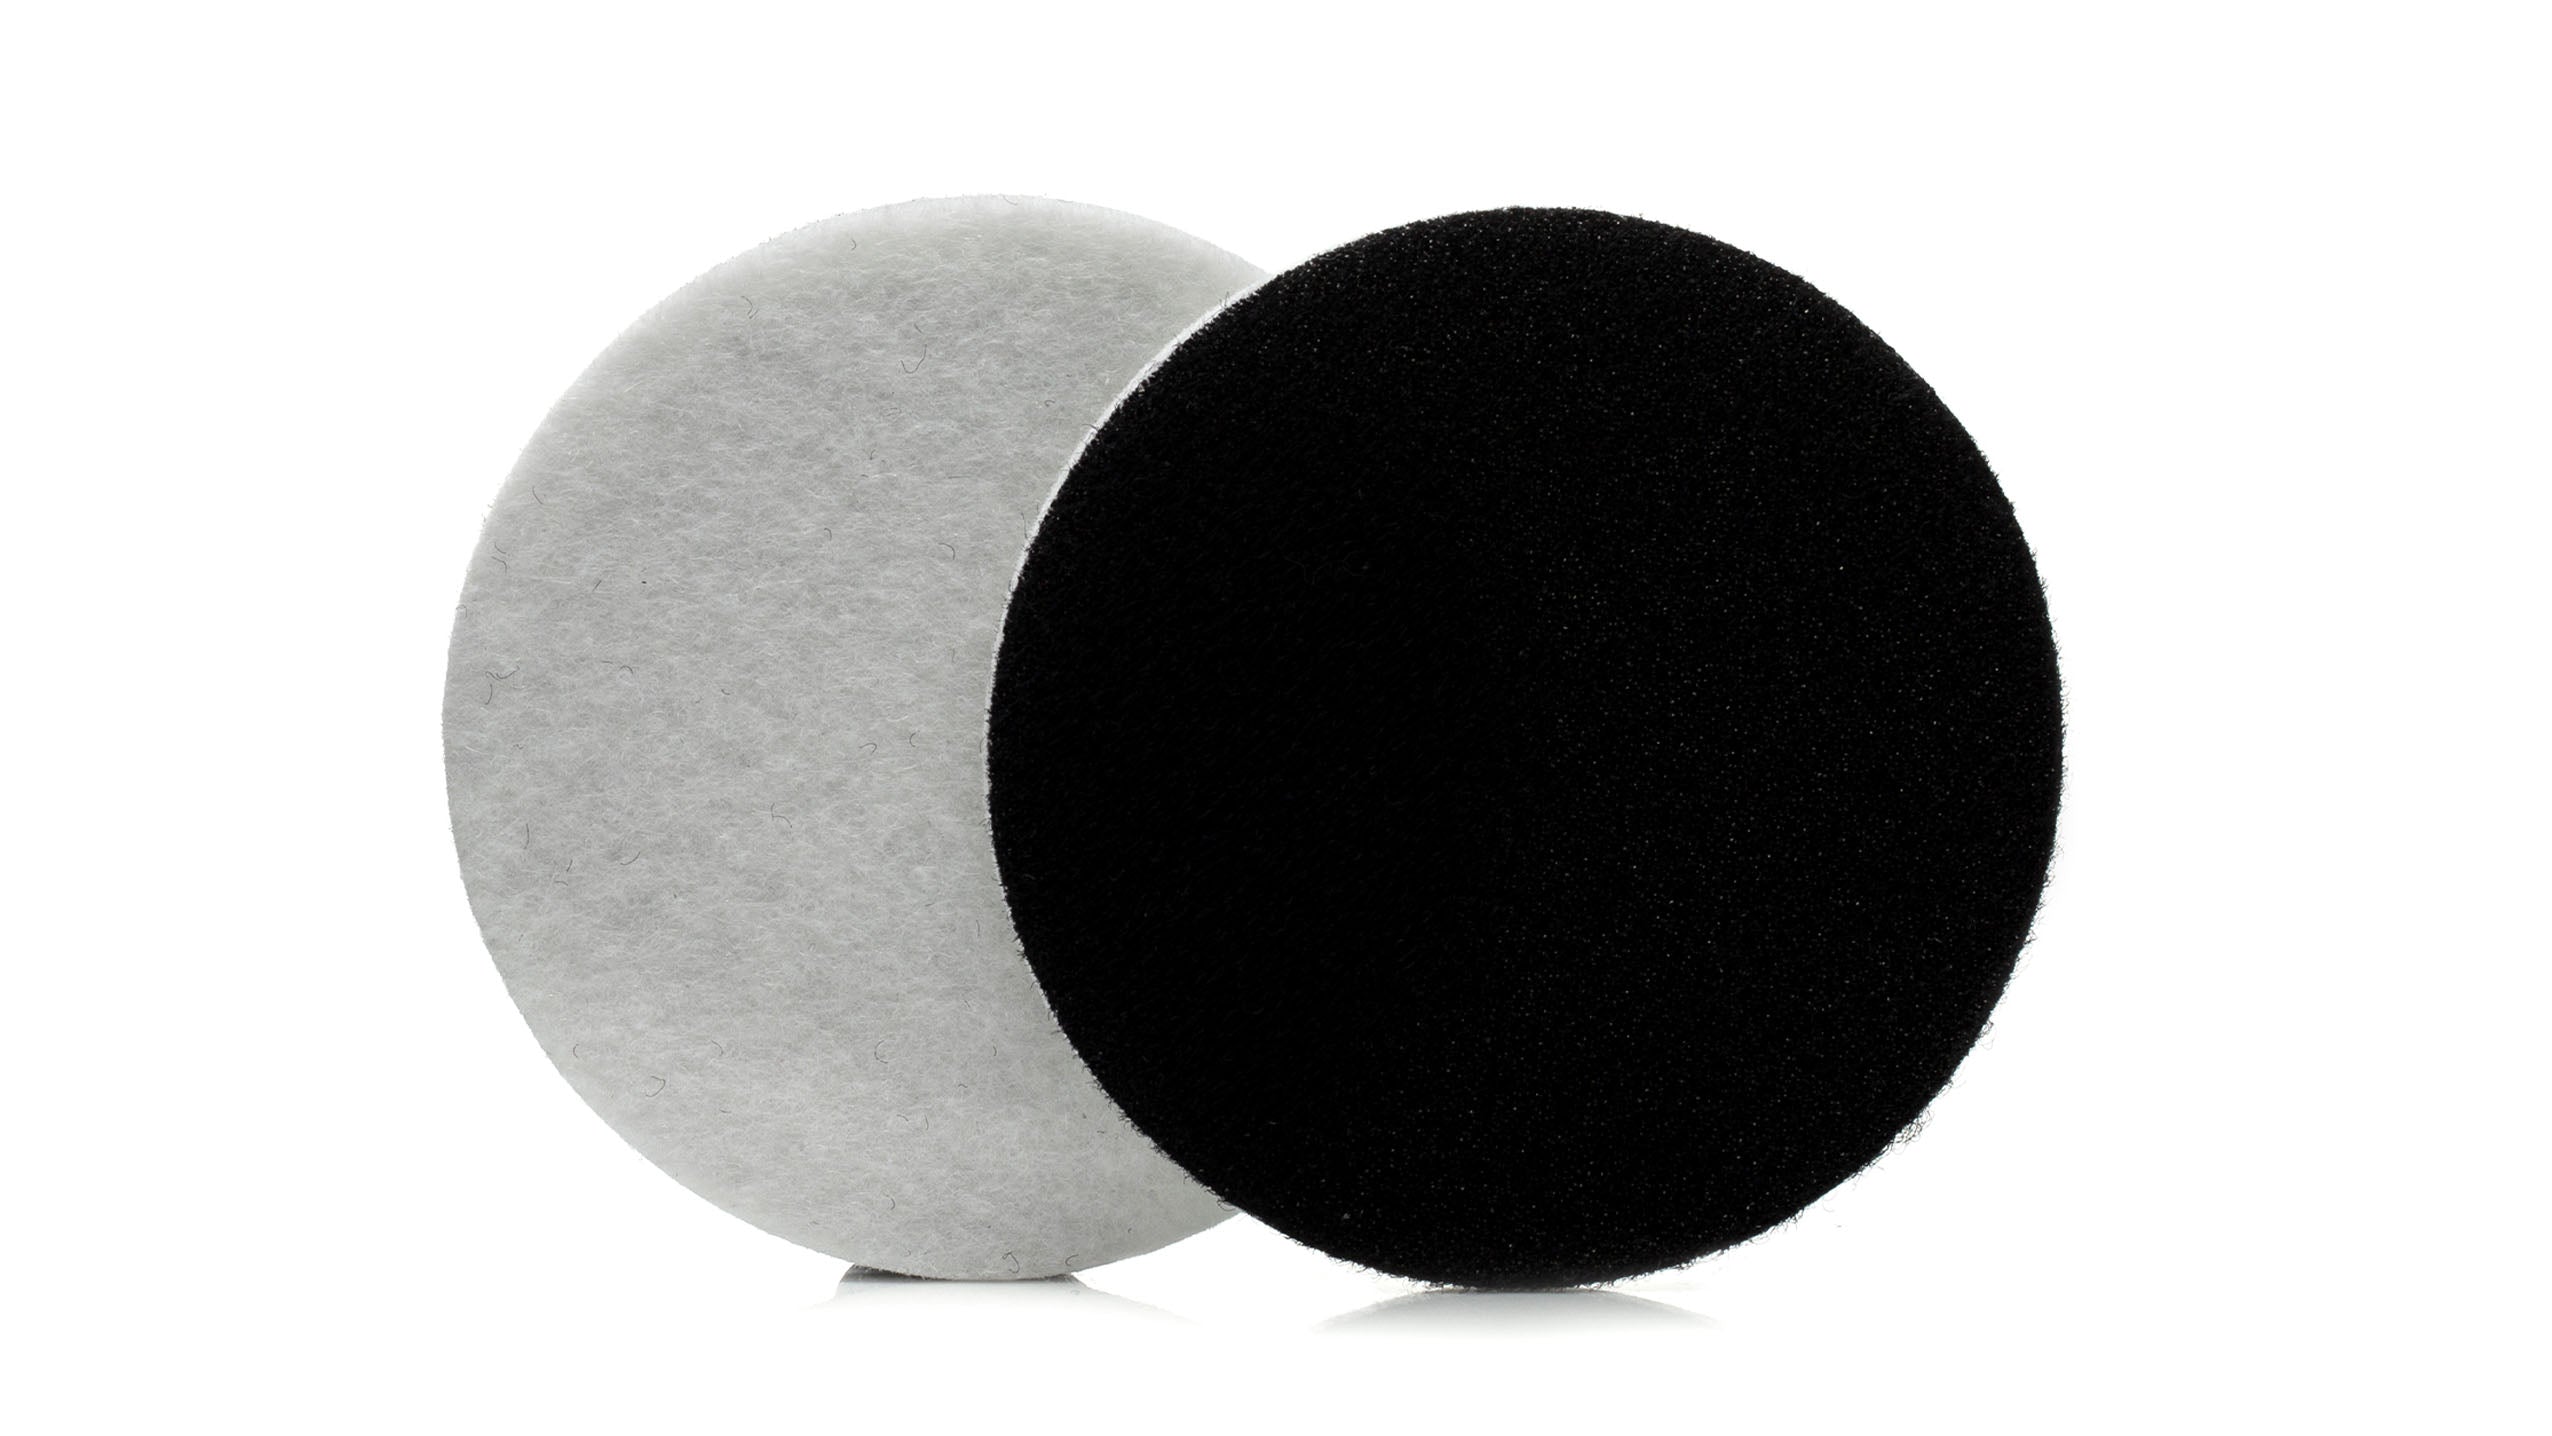
STEP 2: Backing Pad Assembly
Screw in the backing pad to the drill attachment.

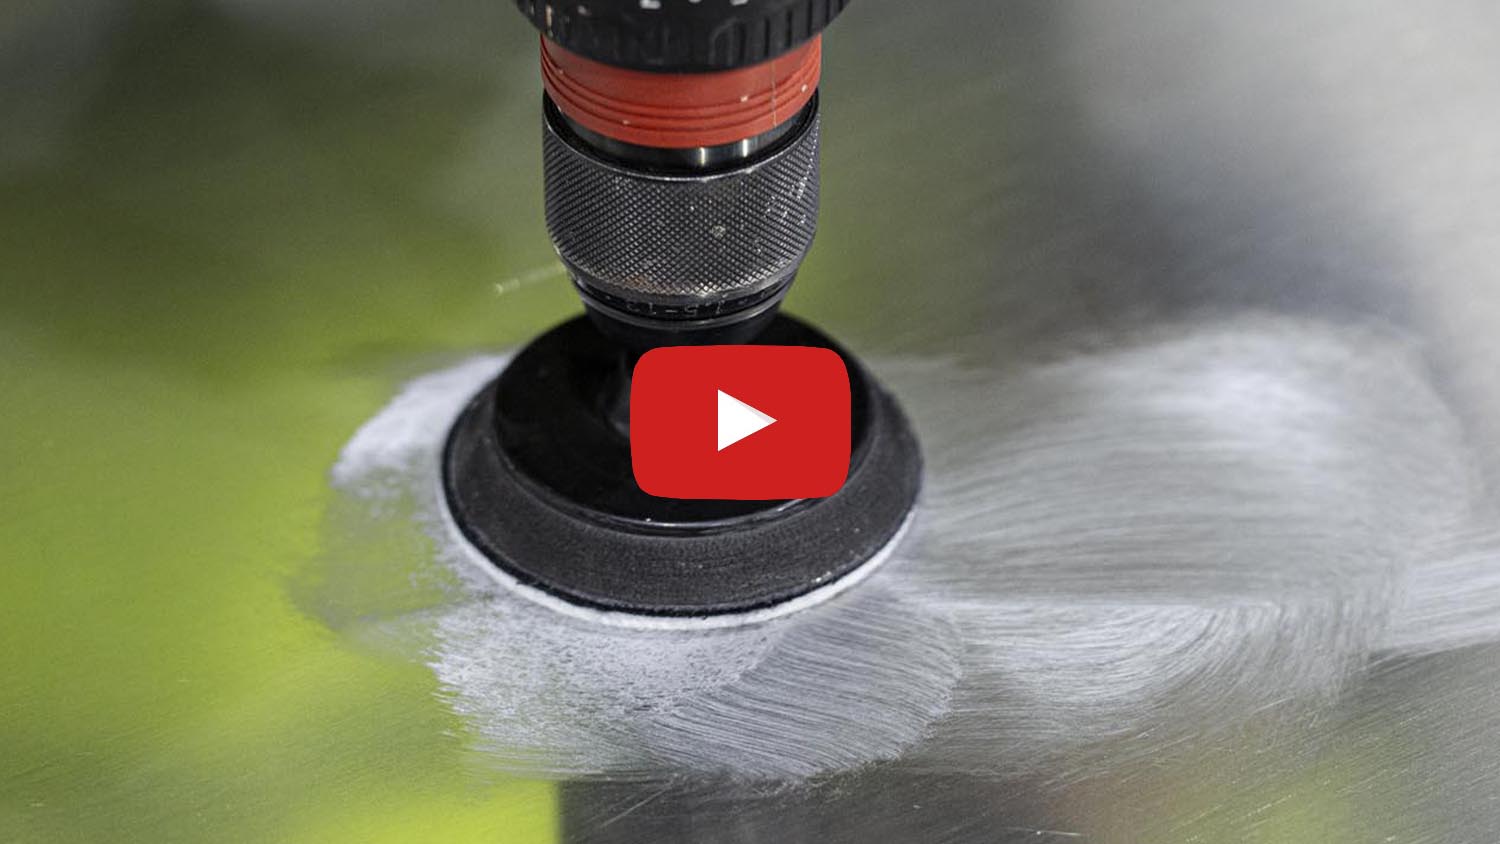
STEP 3: Electric Drill
Attach the backing pad to a drill.

STEP 4: Pre - Polishing
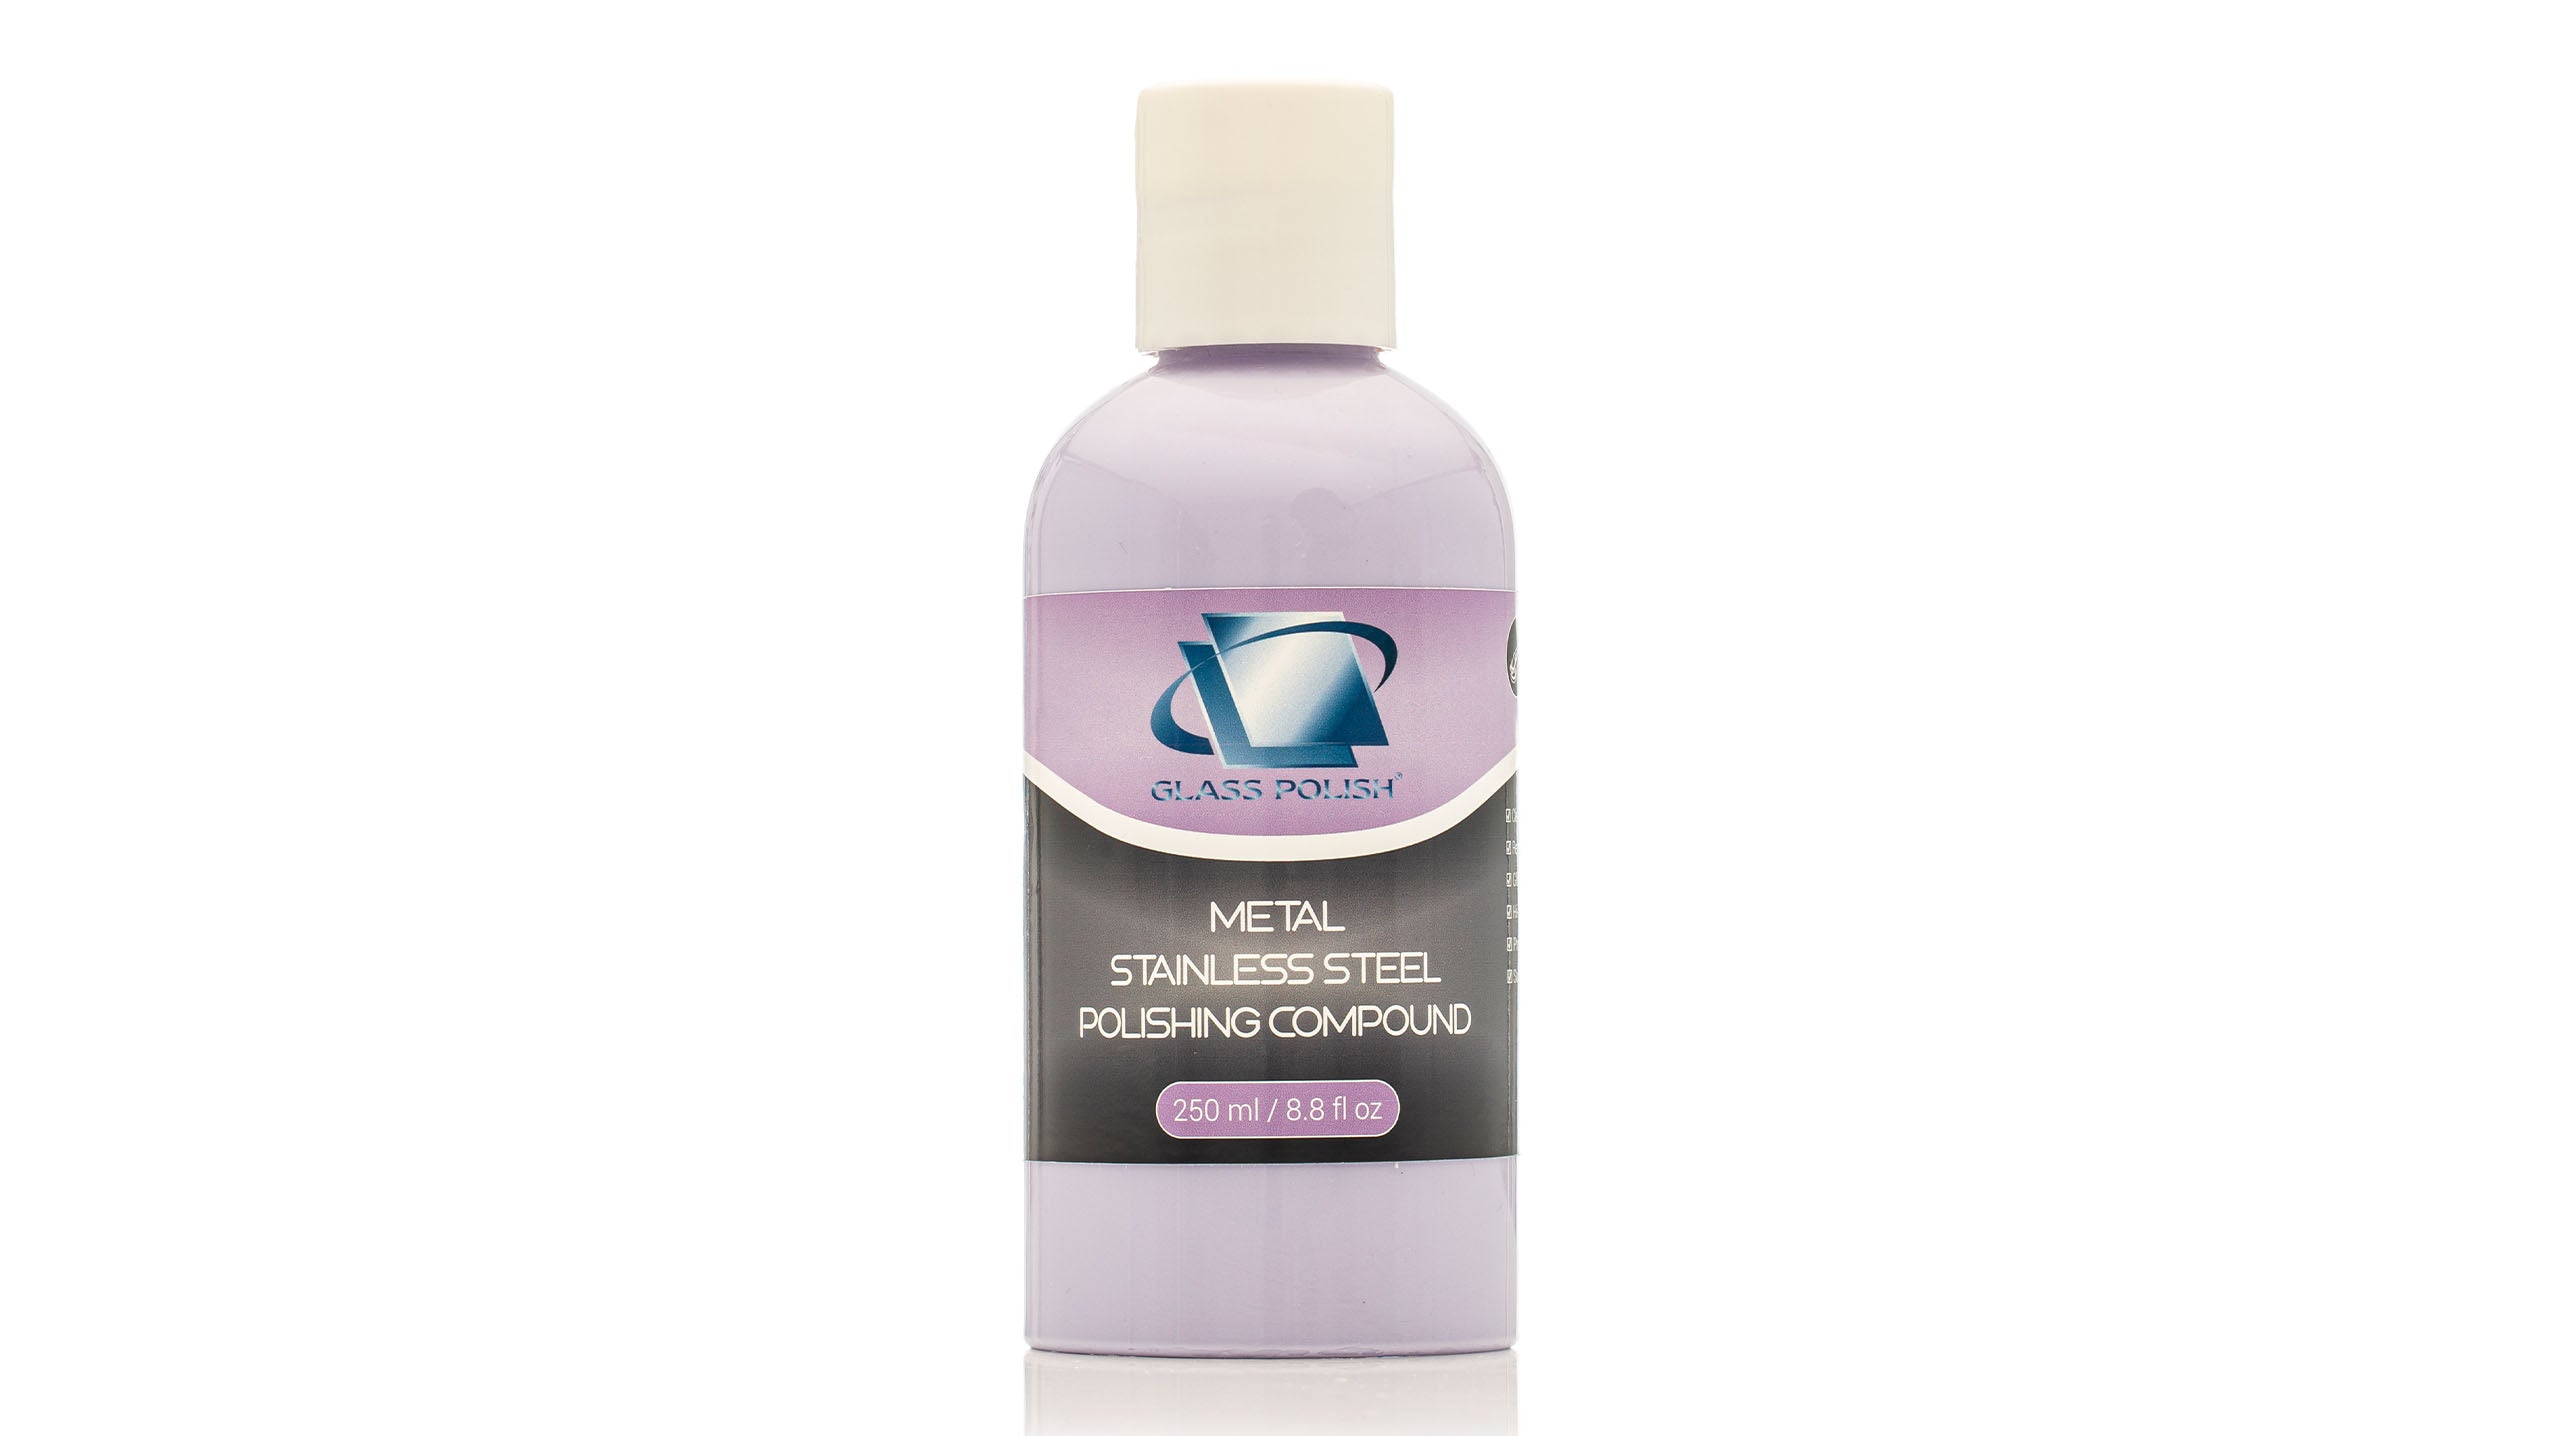
Apply a small amount of compound on the polishing pad.

STEP 5: Polishing
Start polishing at a low speed 800-1000rpm.

STEP 6 : Final Inspection
Clean and inspect, repeat process if necessary.
Metal Polishing Tips
✅ Always start with a clean, dry surface to avoid trapping dirt or debris.
✅ Use a soft polishing pad or cloth suitable for metal surfaces.
✅ Begin with low speed (if using a polishing machine) and increase gradually.
✅ Polish small sections at a time for consistent results.
✅ Wipe away excess compound regularly to monitor progress.
✅ Avoid pressing too hard to prevent swirl marks or streaks.
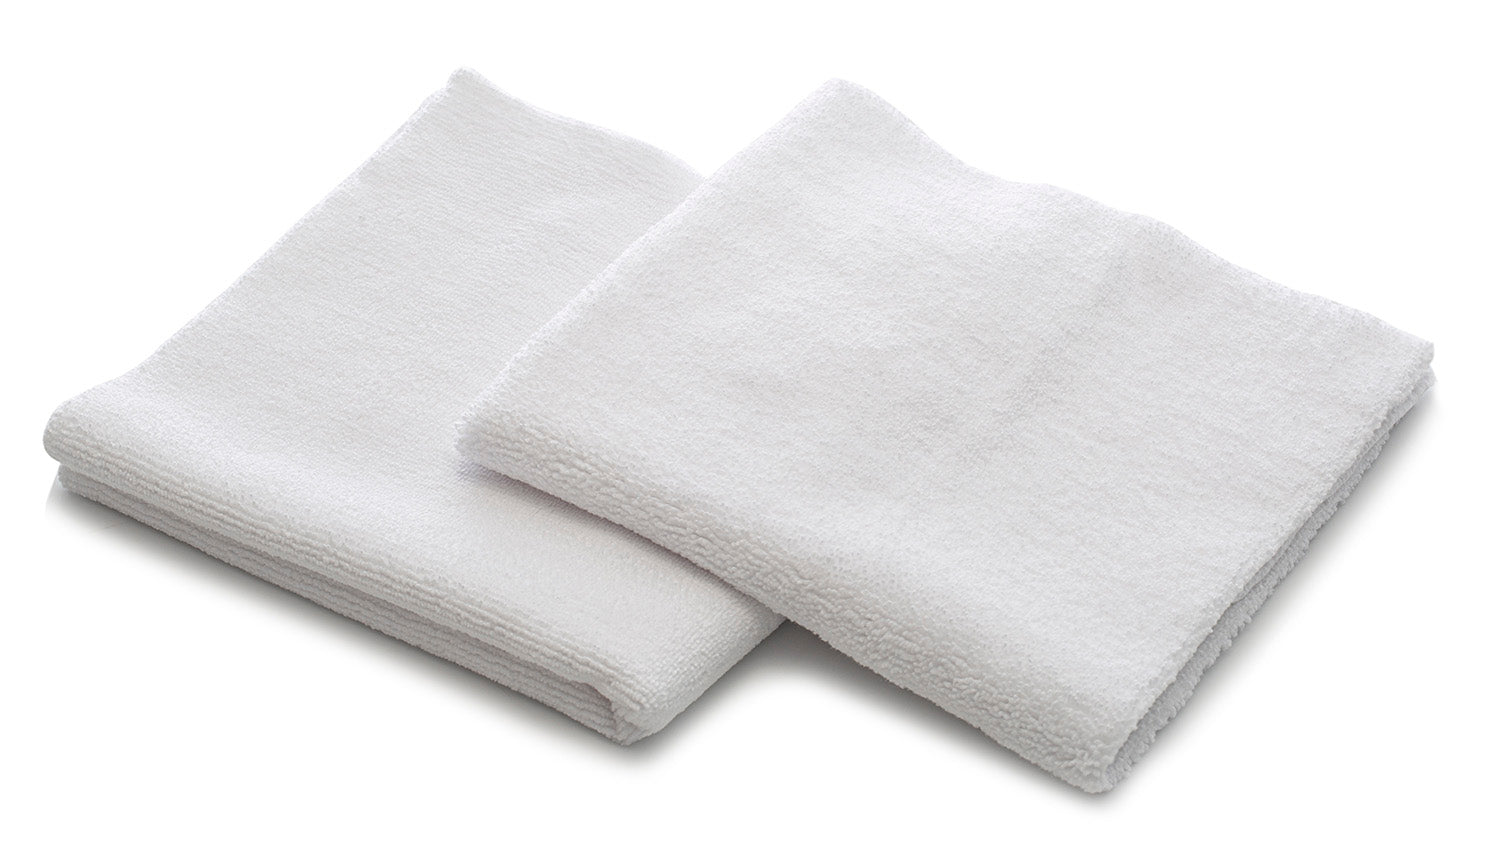
✅ Finish by buffing with a clean microfiber cloth for maximum shine.
Frequently Asked Questions
What metals can I use this compound on?
It is suitable for stainless steel, aluminum, brass, copper, chrome, and other common metals.
Can this compound remove deep scratches?
It is designed to remove light scratches, oxidation, rust and tarnish. Deep scratches may require sanding before polishing.
What tools do I need to use this kit?
The kit is designed for use with a standard electric drill. Recommended polishing speed about 1000 rpm's.
How long should I polish the surface for best results?
You should continue polishing until the desired result is achieved.
Most repairs take 20–40 minutes, depending on the size of the area and severity of damage.
What finish does this compound achieve?
The compound delivers a high-gloss, restoring metal surfaces to a polished, mirror-like appearance rather than a matte effect.
Often Bought Together
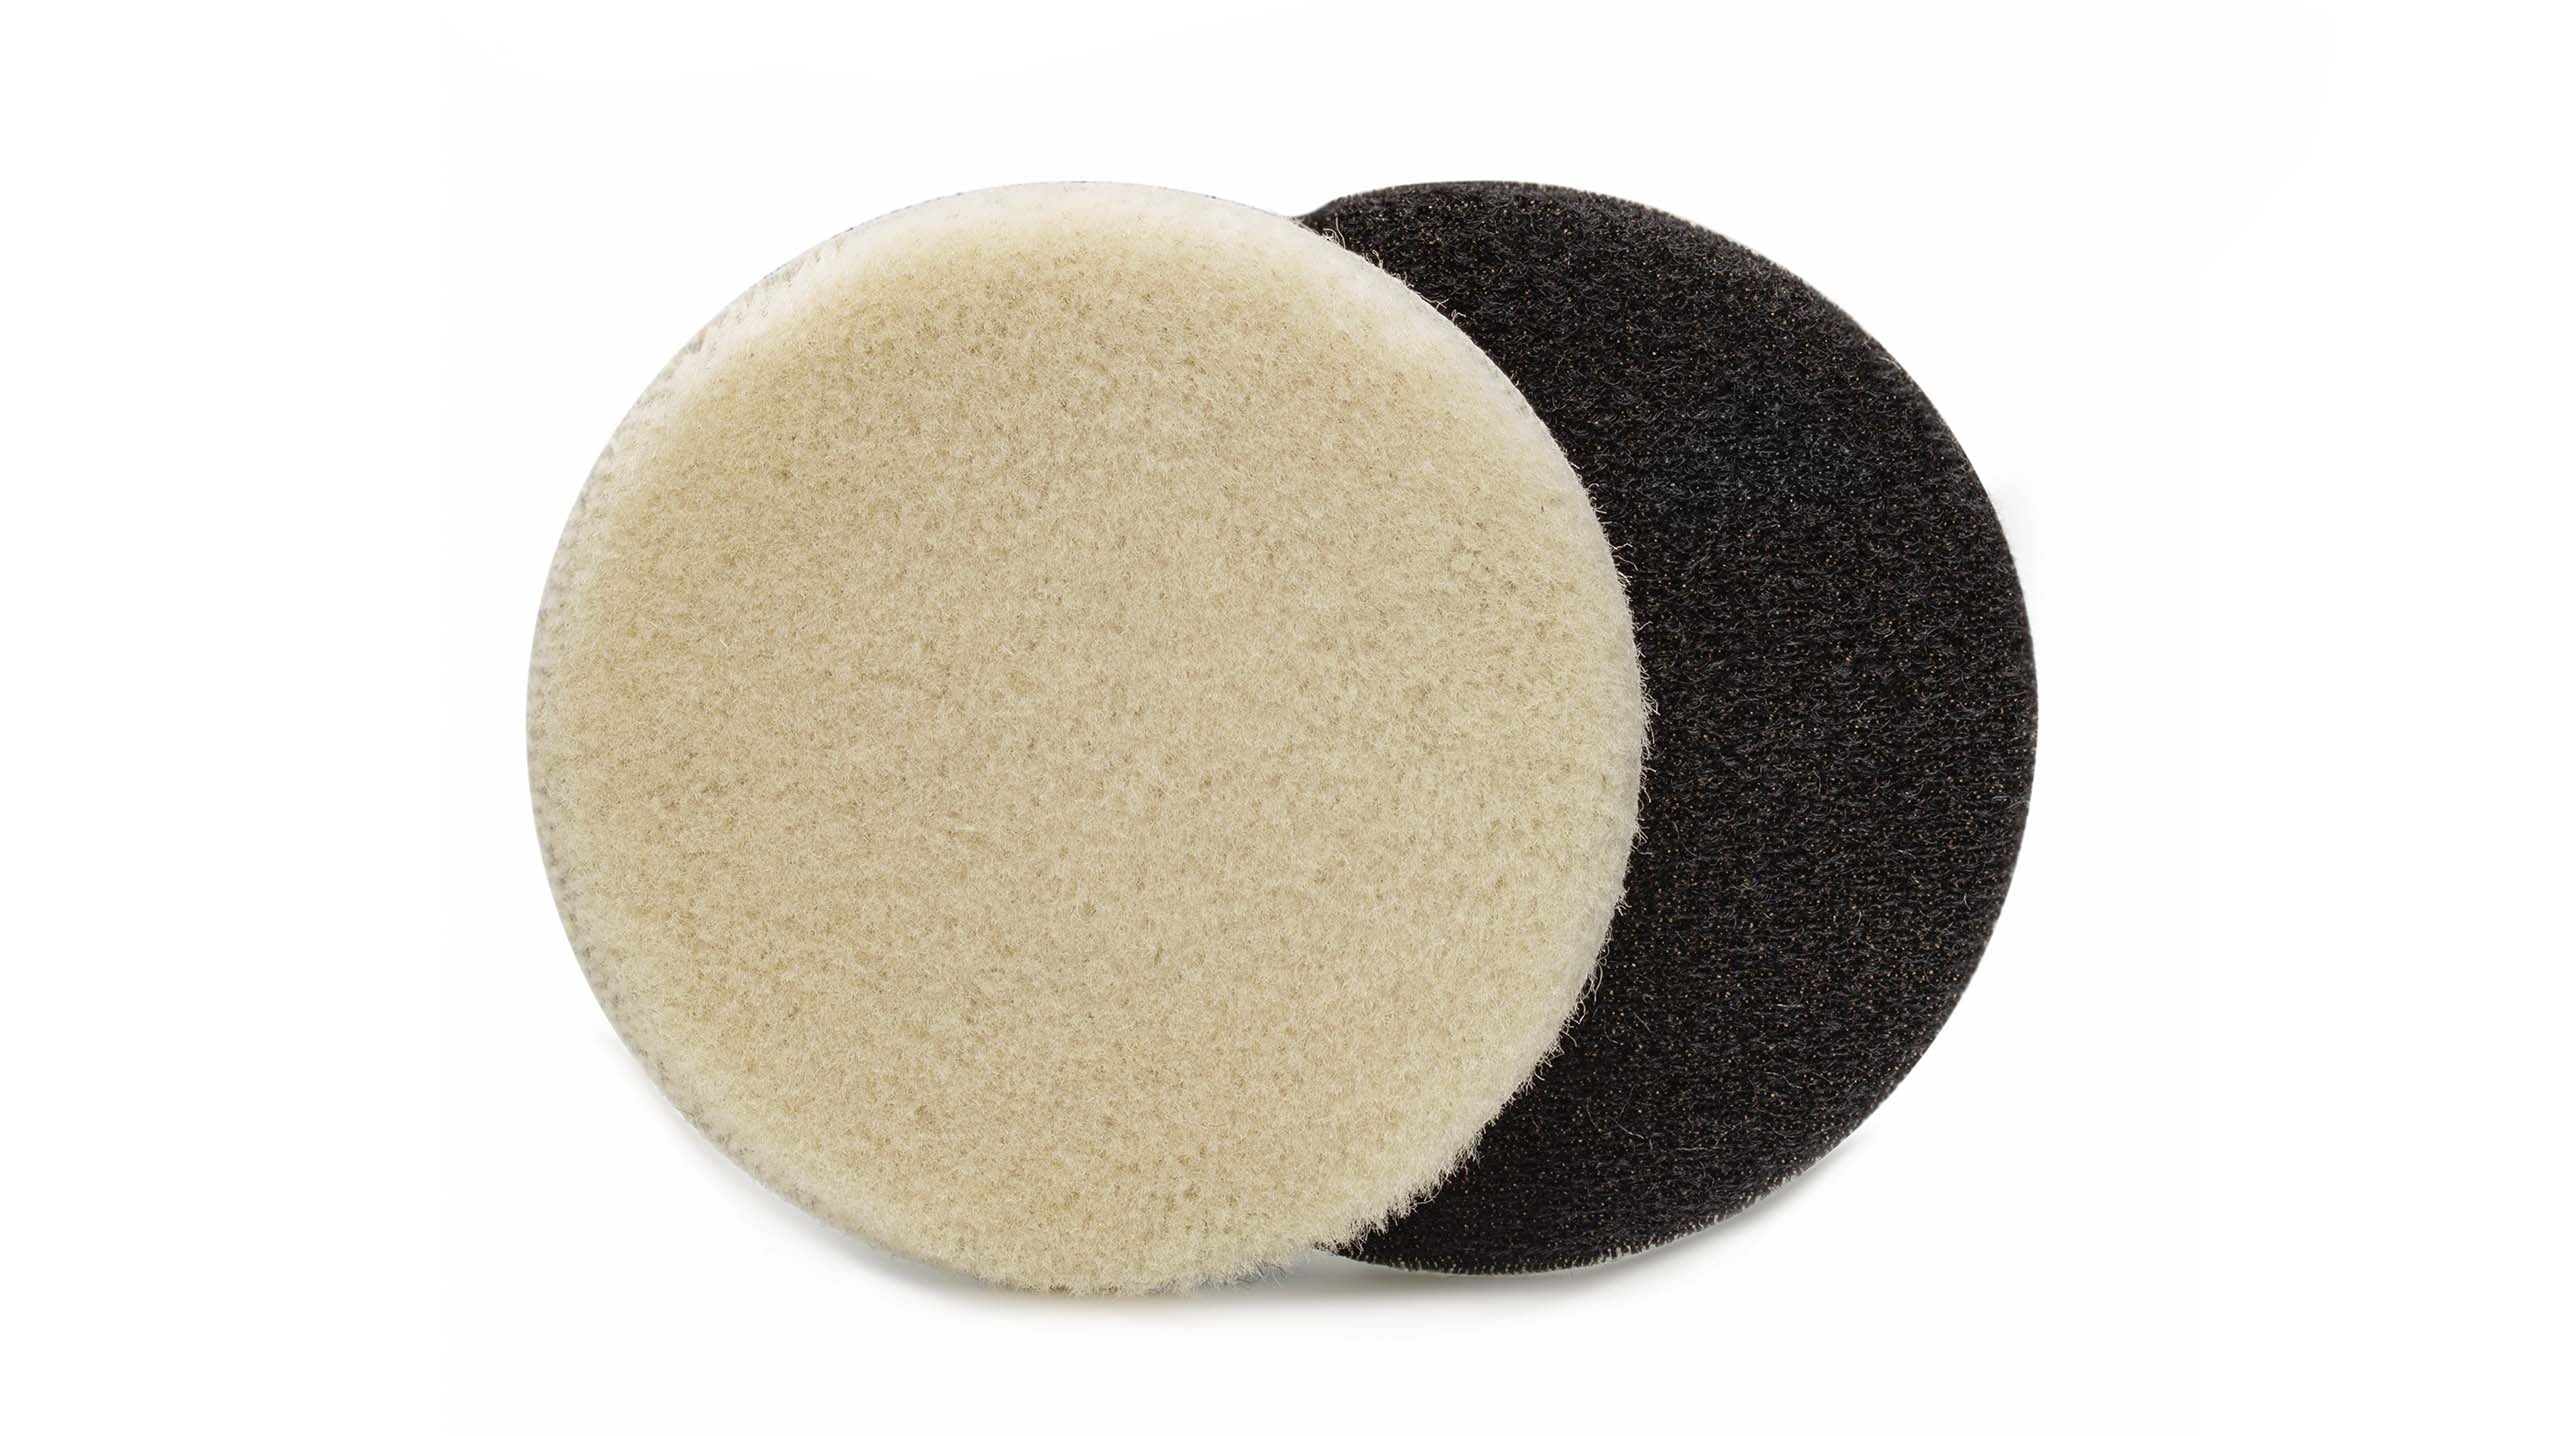
GP-PRO Felt Polishing Pad / 3'' 75mm
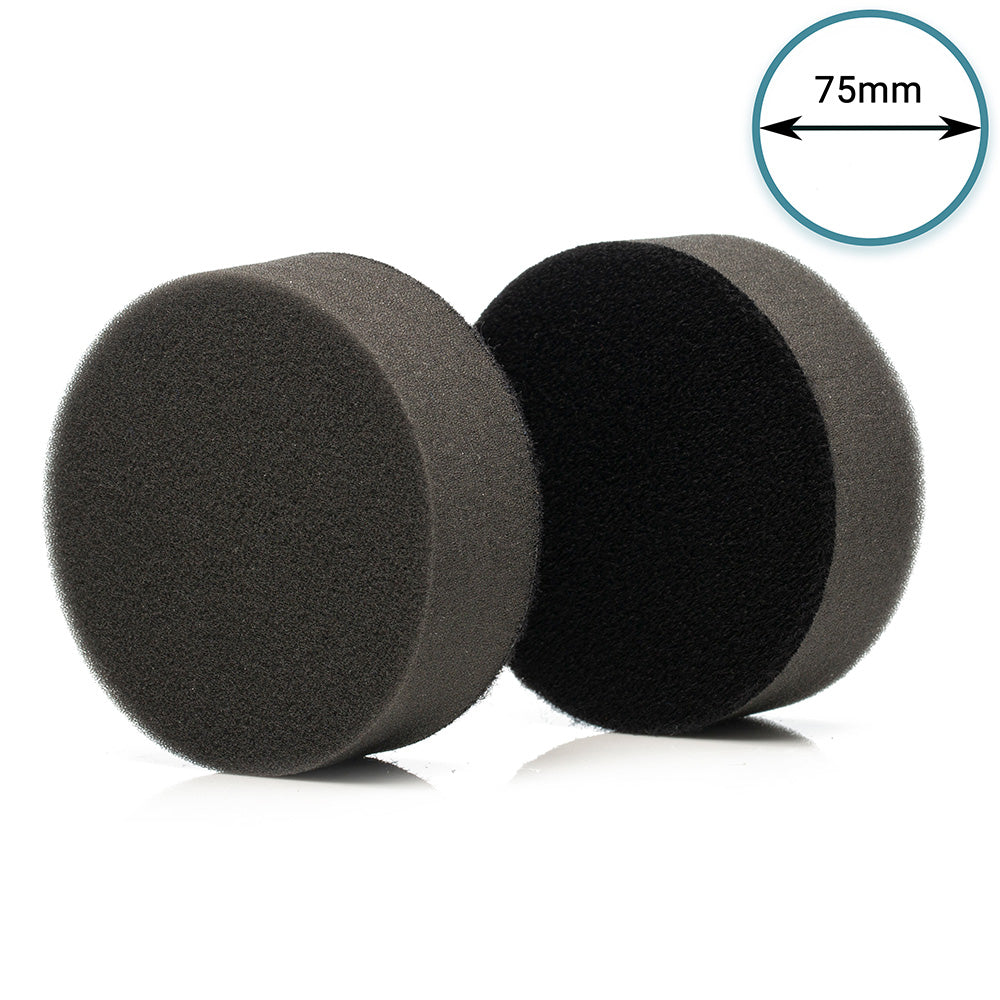
Pro-Line Polishing Foam / 3" 75mm
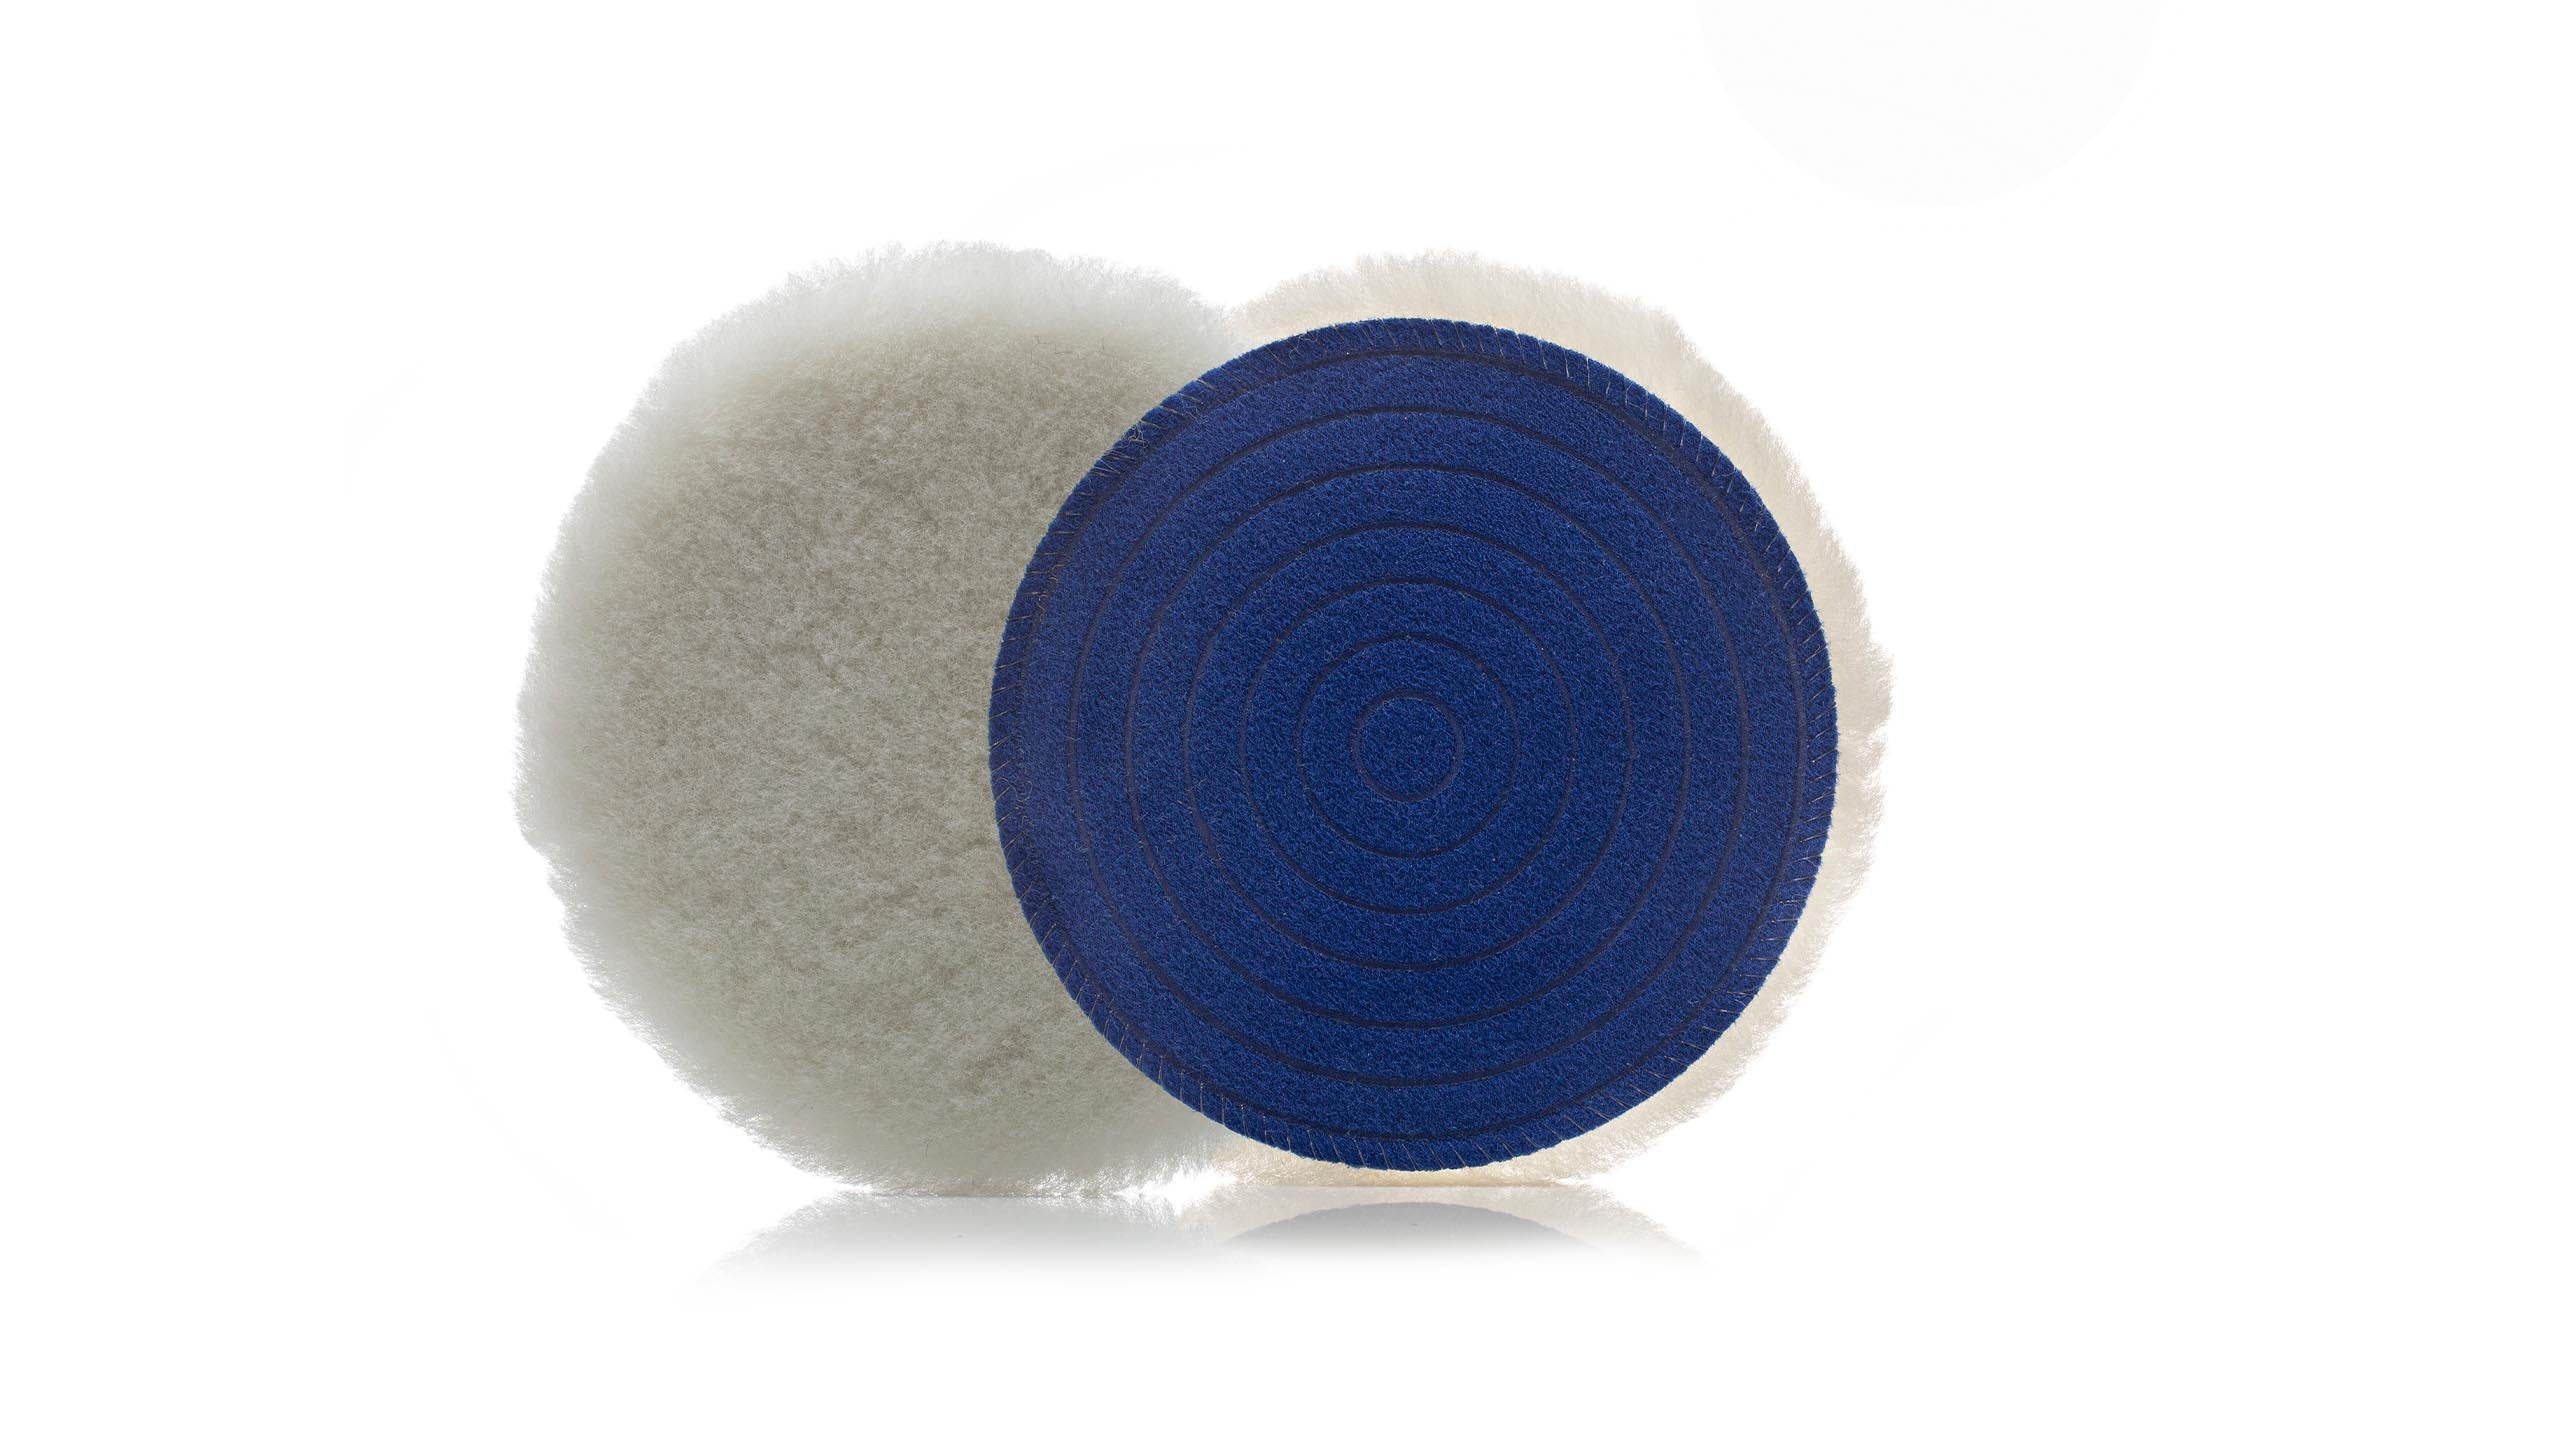
Pro line premium wool pad - 75mm (3")
Pro-Line Premium Wool Pad / 3.2" 80mm